On this page
This article walks through the steps of opening a Deriv account and, more usefully, points out where to stop and read rather than click through.
One thing to state up front: this was written on Sep 24, 2026 and IBFX did not open a live account to capture each screen. The country step and the registration form were checked on the live signup page; the steps after login are described from the process Deriv publishes. If your screen differs from this article, trust your screen.
Before you start: in Vietnam, offshore Forex brokers are unlicensed and trading through them is not protected by law. See is Forex trading legal in Vietnam.
What to have ready
- An email address you will keep. Changing it later usually means going through support.
- Valid photo ID: national ID card or passport, photographed in colour with all four corners visible.
- Proof of address: an electricity, water or internet bill, or a bank statement showing your name and address, usually dated within the last 3 to 6 months.
- The name on your ID, your bank account and your broker account must match. No broker transfers money to a different name, and this is the single most common reason a withdrawal gets stuck.
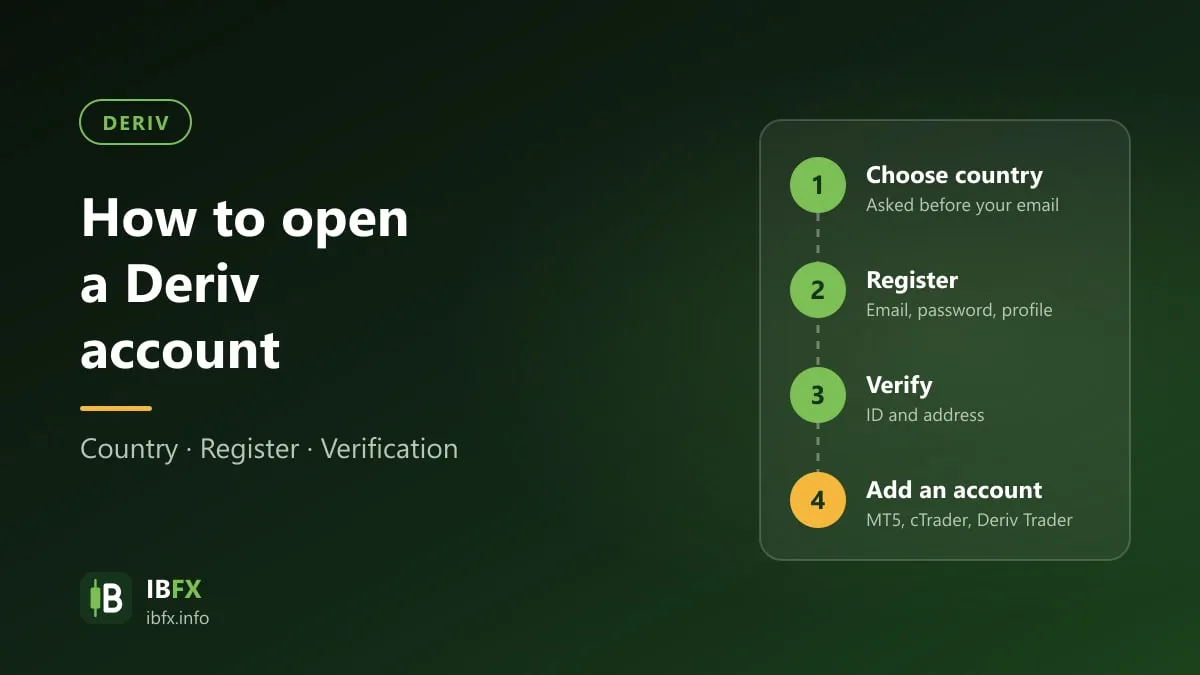
Step 1: Choose your country
Deriv’s signup page asks for your country or region before it asks for your email. That is not a formality: the country you pick decides which entity signs the agreement with you, which account types you may open, and which payment methods you see.
When checked on Sep 24, 2026, Vietnam was in the list. You can open the signup page through our Deriv referral link.
Choose where you genuinely live. Declaring a different country to “unlock more products” breaks the terms, and the consequence usually shows up exactly when you withdraw — when your verification documents do not match the country you declared.
Step 2: Register and verify your email
Enter your email, or sign up with a Google, Facebook or Apple account. Deriv sends a verification message; follow the link in it to continue.
If it does not arrive, check your spam folder before resending. Repeated resends sometimes make later messages get filtered harder.
Step 3: Set a password and complete your profile
After verifying your email, you set a password and fill in your personal details: your name exactly as on your ID, date of birth, address and phone number.
Deriv, like every broker, then asks a series of questions about your trading experience, your source of income and your understanding of the products. Answer them honestly. Overstating experience to get past the step gains you nothing, and false information breaches the agreement — a broker can point to that in a dispute.
At the point where you accept the terms, one detail specific to Deriv is worth noting: its website states that the English version is the definitive one, and that translations may be automated. If you are reading a translated interface, the agreement that binds you is still the English text.
And here is the most important task in the whole process: read the company name in the client agreement. The Deriv group has 7 entities, two of which hold no brokerage license. The full table is in the Deriv review. Note that company name down — it determines where you can complain if anything goes wrong.
Step 4: Open a demo account first
Once registered, Deriv lets you open demo accounts with virtual funds on every platform. Use one first.
With Deriv this step matters more than at other brokers, because its two distinctive product groups — Synthetic Indices running 24/7 and Options contracts from 1 USD — are extremely easy to keep clicking. Running a demo long enough to learn how many trades you place in a session is a number worth knowing before real money is involved.
Step 5: Add a trading account
Your Deriv account is a wallet; underneath it you add individual trading accounts:
- Deriv MT5 — pick one of the five types: Standard, Financial, Swap-Free, Zero Spread, Gold.
- Deriv cTrader — if you want cTrader and its built-in copy trading.
- Deriv Trader — for the Options group.
Deriv account types compares them. None requires a minimum deposit, so you can open one and look around before funding it.
Each MT5 account has its own password, separate from your client-area login. Save it carefully; it is the thing most often forgotten when installing MT5 on a new machine.
Step 6: Verify your identity and address
Deriv will ask you to upload photo ID and proof of address. A few points apply at any broker:
- Capture all four corners, no glare, nothing covered.
- Screenshots are usually rejected; use a photograph of the physical document or a scan.
- The proof of address must carry your name and match the address you declared.
- Do this before you deposit. Verifying first is how you avoid money sitting in the account while a withdrawal is blocked on an unapproved profile.
Step 7: Deposit
Once your profile is approved, you fund the account from the client area. The list of methods depends on the country you are in, so go by the list shown in your own account. Details in Deriv deposits and withdrawals.
The first time, deposit a small amount, place a few small trades, then try withdrawing part of it. A withdrawal that goes through smoothly is a more reliable test than any review, this one included. Only once that works should you think about a larger amount.
Where this usually goes wrong
- Names that do not match. The name on your ID, on your bank account or wallet, and on your broker account must be one and the same. A missing middle name is enough to hold up a withdrawal.
- Depositing before verifying. The wrong order leaves you waiting at exactly the moment you want to take money out.
- Confusing the client-area password with the MT5 account password. They are two different things.
- Declaring the wrong country. The consequence appears at document verification, not at signup.
- Accepting the terms without reading the entity name. It is the single most important piece of information in the agreement you sign.